Showing posts with label envelope. Show all posts

Wednesday, December 15, 2010

Small envelope - a new shape


You remember that I love making envelopes? Just have a look if you don't because I am really into it ^^ Also I once just a little plastic packaging I had as a pattern for my own (just made out of paper insteadt of plastic). I used the same method with this envelope. There was an add supplement in a magazine with a little perfumed paper in it.

I didn't like the scent of the perfume... but loved the shape of the little envelope! So I unfolded it and used it as my pattern to make my own envelope :)


I just marked the outlines and cut it out...


...and folded the paper like the little add envelope.


I glued the backlash on the sideparts with two side adhesive tape.


That really was all. There you go.


The size is 6,5 x 8 cm.


You can now embellish like you want (or not ^^). For the first envelope I used an old stamp, some artistic water colours, an silver pen and of course the beautiful moth (I love it!) from Karen @Graphics fairy. The cool papers are from FarFarHill.

It is really easy to create this little pictures like the moths with adhesive tape, I made the moth some time ago here. Yes, I love stash ^^


Monday, October 18, 2010

Cute little bones III - envelopes


And my third little project with cute little bones (and pictures from graphics fairy... I didn't search for pictures, I saw the pictures she put on her blog and had to do something with them! So that's why there are this three small and easy projects :) ).

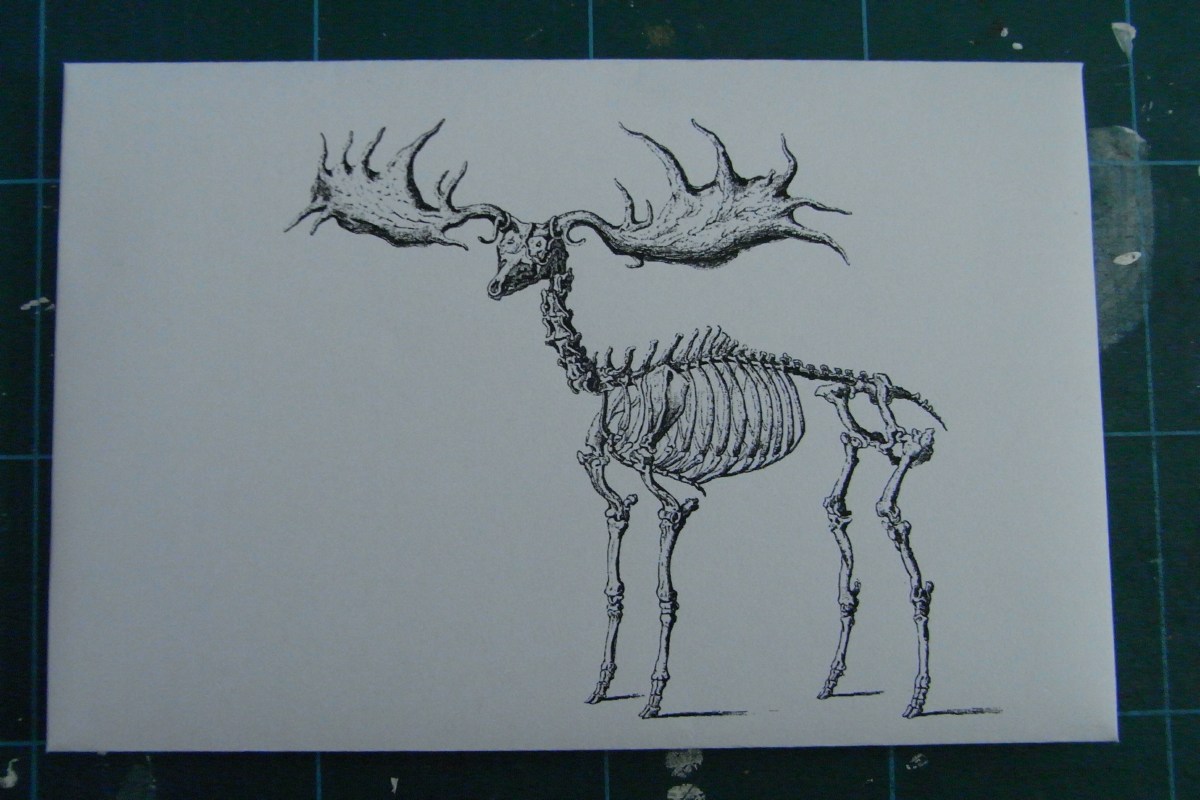
This are all the envelopes I prepared to work with later... I just print the desired pictures out and fold them into envelopes. I use the space beside or under or above the picture for the adress label and the stamp.

You could just set a frame or a speech bubble next to this one...


This one could get the adress as the "species label". ^^


This skelett shows on the recipients adress... It would look cool just like this! Or a frame could be added...


Also smaller versions of a picture are nice. This one just says loud: Give me a speech bubble! ^^


One way to create backgrounds for labels, speech bubbles and / or frames is just paint with artistic water colours on paper. You can see that I am still in love with my shades of brown...


The three upper colours on the left side. Aren't they beautiful just standing alone?


I cut out some shapes freehand (no, they are not perfect ^^) and glued them on black cardboard and cut them out again so they get a little black frame around the corner. You could also just paint a black boarder with a laquer pen.

The little "nails" are dots made with a silver laquer pen.


And put together with a skeletal one...


And then use all the artistic water colours again... I used my three shades of brown and gold. The black paint is an old waterproof mascara ^^ The brush is perfect, nearly empty of paint and after drying resistant against water!


See the gold shimmer...?


Looks a little bit bloody... ^^ not intended but I like it!


Again the finished one :)


Sunday, October 10, 2010

Skull envelope...


A very fast envelope..!

This time a bigger one (Din C5) for more space...! Okay, to be honest: I had  the skull printed and cut out with a paper knife and I had tried to sort a little bit my stuff so per chance this kind of envelope was catching my eye ^^


I cut out some speech bubbles: The upper one for the stamp and the lower one for the adress label. I also added some "thoughts" for the shipping adress.

Then just a little bit of artistic water colour... and everything was outlined with a black pen. Fast, easy and I think it is somewhat cute ;)

You can find the picture at graphics fairy, just click here!

Saturday, October 9, 2010

Ocean inspired envelope


I already made this envelope a few days ago but forgot to post about it. Mh... my neurons are not the newest ones ^^

The picture is from graphics fairy, you can find it here. As soon as I saw it I knew this is perfect for an envelope. Normally all you would need is a colour printer.

This is where my problem started. I just can print in old black and white and not even in a good quality... (Yes, a new printer. Would be great... and needs money... :( ).

So I printed a test version. After this one I decided to add more contrast and brightness to it. Just with the grafic modification options word offers, that's enough for projects like this one :)


Now you have a better chance to paint it after printing. Otherwise the colours would be too dull.


I folded and cut the paper for a very simple envelope :)


Here is the finished envelope shape front:


I wanted the black printed lines to come through so I used artistic water colours.


I also used a black fineliner to overpaint the outlines for more contrast. And I added some movement through more "swirling hair lines"...


All the fishes have some silver as last finish and the mermaid has some gold in the green.


A little bit difficult (as always) to catch on a foto but I hope you get the idea.


After all this was done every creature was overlayed with clear embossing powder.


It is also a little bit difficult to see the effect but it is quite nice. ^^ A little bit like water...!


After all I have to say I am even glad I don't have a colour printer. Otherwise I wouldn't have painted it and in the end I like the mermaid in all this green and gold shades more than the original ^^


Tuesday, October 5, 2010

Bronce tentacle envelope


The tentacle is made with acrylic paint (again ^^). It is just the best choice if there is only one colour is used to paint the tentacle because with the thick consitency it is possible to work not only in colours but with structures on the surface of the paint.

I overlayed the tentacle a little bit with black artistic water colour. But I used nearly no water and just a little bit of the colour itself.

The whole envelope: Just bronze tentacles and a little frame :)


The basic is this cardboard which you normally use to organise your stuff in paper folders. They are of a nice quality and stability to work with. I folded it...


..and cut one side a little bit so I could fold the other side over the smaller one and glue it down.


A book page was my basic material for the little frame. I just cut it out freehand...
You may draw lines where to cut before but I like a little bit of imperfections!


A space in between cutted out... The adress will be written down there!


I painted it over with artistic water colours: Two shades of brown and a little bit of black. The transparency of water colours is great so the text can still be seen through.

By the way:

Liebe Mama = Dear Mum
Lieber Papa = Dear Dad

This was really just by chance but somehow cute, no?! ^^


And the tentacles followed at last...!

Friday, October 1, 2010

A little one - envelope


More mail art! This time the envelope is not to be send anywhere but as a decoration on a paper-clip. Although I am curious what the smallest size is our mail service would send. A stamp sized envelope? The stamp could be on one side and the adress label on the other... mh.. I will try it! Definitly!


The envelope is really useable in the meaning of having a card inside. There you could write down little messages if you would give one of these away as a gift.

I made the envelope out of one of my inchies I made out of book paper. Just a little folding of the edges. I cut the upper pieces of the lower edge. The upper edge goes over it quite nice. I hade some adhesive (one-side!) tape behind the three lower edges to glue them together.


A little piece of white paper for the adress label and a little bit of red paper as a stamp. I just scribbled over both.


And a little bit of red paper for as a card. "Read me" i think is suitable for a book mark.


Fits in! And I like that the first word is readable. It was not intentioned but I will keep this in mind if I make another one :)


I cut with my paper knife through the bottom of the envelope, put the paper clip inside with glue and let it all dry. During the drying time I left the knife inside the envelope so the clip would just be glued to one side of the envelope!


My label is on the other side of the red little card ^^


I think this would make a tiny but useable bookmark!